Become a vendor
- Access your personal administrator area
- Use the common storefront to sell your goods
- Get your profit share
Creating a Product
Once you've got your account created and have connected to a Stripe account, you can now list your first product!
Click the "Products" dropdown menu, then click "Products." The Products list will display, but will be empty.

Start
by clicking the plus sign in the upper-right area of the screen. A New
Product screen will display. Several tabs will display, but for now we
will only focus on the "General" tab.

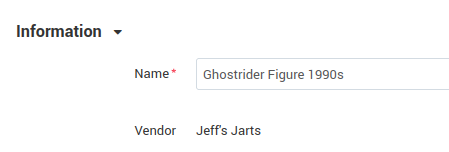
Enter the name of your product. If you have specific features that you know will appeal to those who are looking for the item, feel free to include them. Examples of this include:
Lady Jaye G.I. Joe Figure (1985) Mint In Box Never Opened
"Aenima" by TOOL Double Vinyl (1996) Signed by band

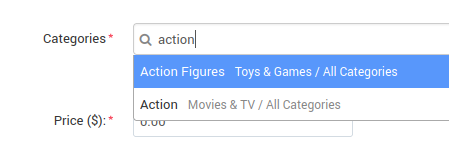
Select a category for your product. Multiple categories can be selected. If you don't see a category for your product, select "Miscellaneous" and message us to have one created.

Specify the price of your item.

Next, enter a description. You can keep this as simple as you like, but we also like the story behind the item. If it's the Legend of Zelda cartridge you got when you were 8 years old for your first NES, include it! We're all here for the love of these things that brought us so much joy over the years.
If
it's an item you make that hearkens back to these greatest of times and
you've got a stock room full of them, that's cool too! We have other
features we'll get to later that will allow you to track inventory and
list variations of your item.

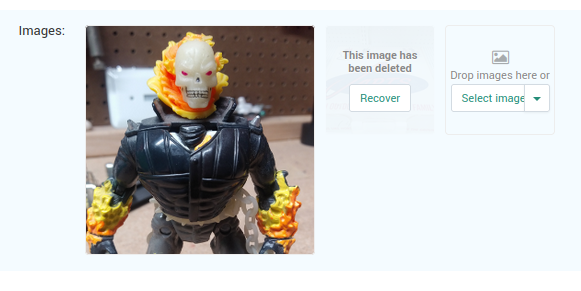
Next, upload the images of your item. For optimal viewing, upload images between 300x300 to 600x600, around 1-2 megabytes per image. Larger images will be resized. Thumbnails are automatically generated for viewing outside the product's main page.

Scroll down to the "Extra" section and specify the product condition. Finally, select a "Collection;" either 80s, 90s, or 2000s. Product condition and Collection are required fields.

Next, click the "Create" button in the upper-right hand area of the screen.
As
long as no required fields were left blank, you will see a notification
that the product has been created. You will also see a notification
that HTML and other tags will not take effect. You can ignore this
notification, it appears by default.

You'll
notice that several new tabs will appear at the top of the screen. The
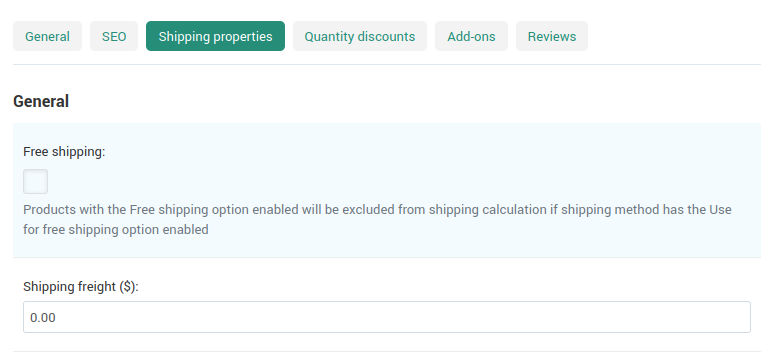
only other one you need to use before saving your product is the
"Shipping" tab. Click this tab and either indicate the amount for shipping, or if you would like to offer free shipping, check the box.

You have now completed all required information to list your first item. Click "Save" in the top-right hand area of the screen!
If you need assistance, or have any other questions about other product features, send us a message!
Become a vendor
- Access your personal administrator area
- Use the common storefront to sell your goods
- Get your profit share
