Creating an Account
To create a vendor account, click here and complete the form. Your account will be created and you can start uploading products.
You'll get an email with your first time login password. Once logged in, you will be prompted to change your password. The admin panel of CS-Cart (the software we use) has many features; you really only need to use a couple to get started.
Customizing Your Vendor Account
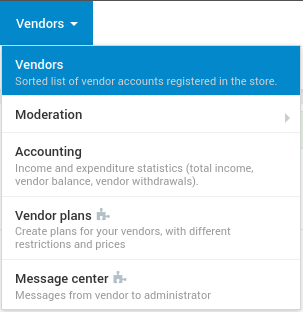
From
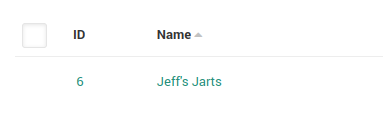
the admin panel, click "Vendor" and then "Vendors" on the menu that
pops up. You will see your Vendor account- click on the name of the
store, or click on the gear and click "Settings."
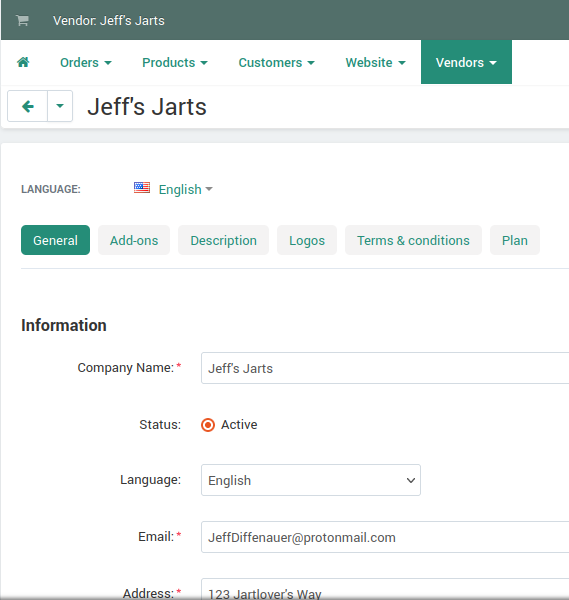
Your
vendor settings will display. Most everything is done from the
"General" tab, where you can update your address, email, phone, and
other contact information. Located at the bottom of the General screen
is a button to link to Stripe Connect, which is our method of getting
your money to you. This is covered in a separate video, found on our
help page.
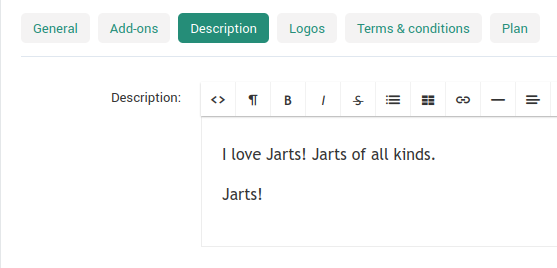
The
description page is where you can let users who view your store page
know all about you and what they can expect to find. The more you feel
like sharing, the better!
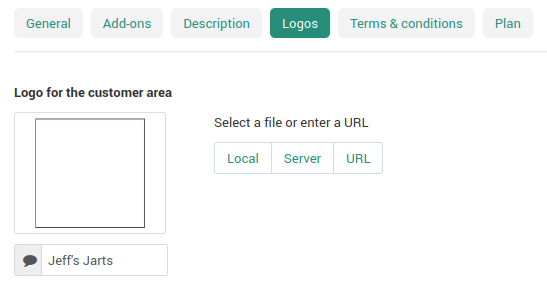
Visit
the logos tab to upload your store logo for both the customer area, and
the order confirmation (labeled "invoice") which will show in the email
to your customer. To
upload an image, click the "local" button next to the default Alley
Cove image, and select your logo from your computer.
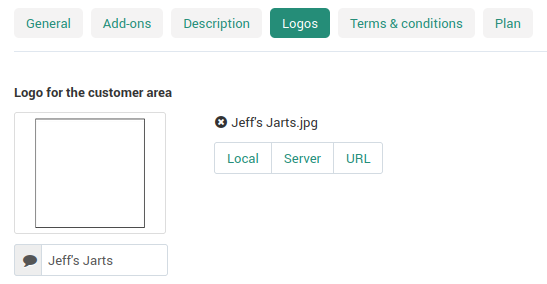
The name of the file you selected will display; to set it as your logo image, click "Save" in the upper right
hand corner.
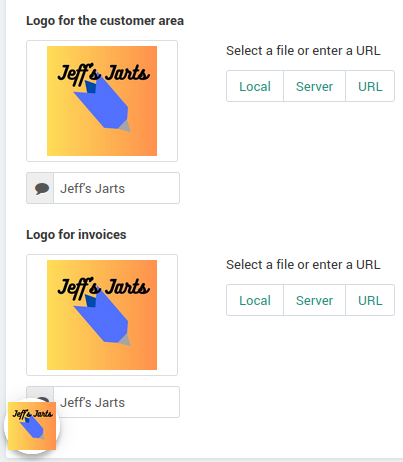
After clicking "Save," your thumbnails will display. The logo for the Customer Area
Please keep images to 300x300 or less for your logos. This
is especially important for the invoice logo, as it will show in your
emails as the size you upload it.
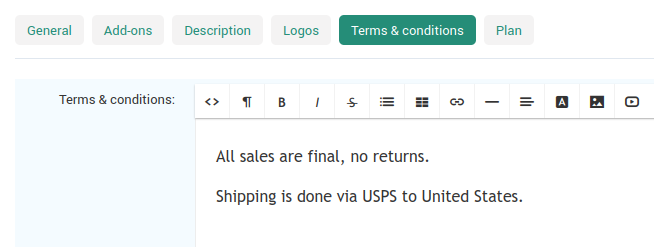
Finally,
you should lay out some Terms and Conditions for your sellers. Click
the tab and use the text editor to specify how you will handle shipping,
returns, and any disputes. Disputes are primarily handled between you,
the seller, and your customer. Be sure to click "Save" after you enter
your terms.